There are a lot of Related post shown widgets for blogger , and all among them the LinkWithin is a very popular, useful and SEO friendly widget that shows the related posts on your blog. And also LinkWithin is a free tool and you not want to Sign Up. So follow our step guide to add Linkwithin Related post widget for the blogger posts.
Step Guide1: Just visit Linkwithin Website using below link.
LINK: http://www.linkwithin.com
Step Guide2: After visiting this website you can See a box like below screen shot and complete it with your info.
Step Guide3: After complete the box click on GET WIDGET button.
Step Guide4: When click on GET WIDGET button a page will shown with full step guide. So on the bottom you can see the INSTALL WIDGET.
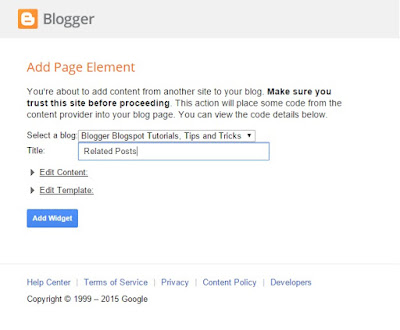
Step Guide5: After choose your blog it will automatically pop up your layout page in the blogger. So choose a place and keep it. So you have successfully added your widget.
Why Choose LinkWithin?
Produce Other Posts on Every Post!
The LinkWithin is a free widget developed for Blogger, Wordpress, Typepad and other websites which tool shows related articles on every post.
Past Stories as well
LinkWithin shows every articles on your for Blogger, Wordpress, Typepad or other blog archive, LinkWithin didn’t shows only features posts. It gives every readers to find out all the posts that posted on past or now.
Get more Visits, Able Readers to read more
Linkwithin able the blog readers to read more and more posts that have been posted. It makes your readers interesting and when the readers see more your page views will increase.
Free and Easy
The linkwithin is free and it did not required signup. You can use it on just some clicks.


Comments
Post a Comment